Showing posts with label Korean. Show all posts
Tuesday, 14 March 2017

Tamagoyaki (Pan Fried Rolled Omelette) 玉子烧


I am going to make this Tamagoyaki (Pan Fried Rolled Omelette) 玉子烧 post short and sweet. This is the type of dish whereby pictures tell a thousand words. The ingredients are just so simple and the steps repetitive. As I am a one-man-show in the kitchen, I have not managed to snap pictures of the rolling process. I believe you can refer to the many videos online that demonstrate the egg rolling techniques for this dish. Basically, I rolled the eggs with 3 simple tools - a brush to grease the non-sticking pan, a pair of chopsticks on my right hand to do the rolling job and a spoon on my left hand to use as guide. 

For me, there are 2 simple elements to achieve a tight and neat roll. There's really no secret to it. Just add a little vinegar to bind the eggs and start rolling before the top side of egg gets cooked. Otherwise, the layers just wouldn't bind closely.


Ingredients (Enough for 2 rolls. I managed to cut 8 pieces out of each roll) :
  • 6 eggs 
  • 1/2 carrot (finely chopped)
  • 1 small onion (finely chopped)
  • 1 stalk spring onion (finely chopped)
  • 1/3 tsp vinegar
  • 1 tbsp milk (optional)
  • salt (to taste)
  • pepper (to taste)

(tsp = teaspoon; tbsp = tablespoon)    


Methodsl : 
  1. Finely chop onions, carrots and spring onions.
  2. Crack eggs into a bowl, add seasonings and beat.
  3. After beating, sieve egg mixture into another bowl. This is to allow for a smoother texture.
  4. Toss finely chopped onions, carrots and spring onions into egg mixture.
  5. Turn on the fire to low-medium heat and grease your non-sticking pan with a little cooking oil using a brush or paper towel. 
  6. When the pan is hot enough, turn to low heat. 
  7. Use a ladle to scoop the egg and veg mixture onto the pan. It should be thin enough to just cover the surface of the pan. 
  8. Start rolling the egg when the base is firm enough (meaning it would not break when you roll) and the top side is still half-cooked. Do not wait till the top side is cooked, you would have problem tightening the egg roll. It does not matter that the egg is half-cooked as it is still staying in the pan and heat.
  9. Push the egg roll to the end of the pan and grease the pan with brush or paper towel again. 
  10. Scoop another layer of egg mixture onto the pan. Similarly, just enough to cover the surface of the pan.
  11. Start rolling again when the top side is half-cooked. This time, use the first roll that you positioned at the end of the pan to anchor and begin the roll.
  12. Repeat the same processes till you are happy with the thickness of your roll. 3 layers are good enough for me. Some people like it more.
  13. When you are done with rolling the final layer/outer layer, immediately off the fire/heat. Use the residual heat from the stove to perfect the shape of the egg roll to your satisfaction. 
  14. Transfer egg roll(s) to a plate for cooling. You cannot cut the egg roll when it's hot. It'll just fall apart. Give it 10-15 minutes to cool down
  15. Cut and serve. it should be nice and neat when you cut after the egg roll has been cooled down.

Tip 1 : You may use any ingredients that you deem palatable in the egg roll. Just have them finely chopped. Or, if you prefer, do it without any other ingredients. Make it a clean egg roll!

Tip 2 : It is not necessary to use a Tamagoyaki pan. Any non-stick pan should suffice. Just apply the same  methods when cooking. 


(scroll to bottom of page, click on "Print" or "PDF" icon for printer friendly recipe)


This Tamagoyaki (Pan Fried Rolled Omelette) 玉子烧片 is not only pleasing to the eyes but a healthy and nutritious eat. Great for adults and children. 


Monday, 14 March 2016

Kimchi Bokkeumbap (Kimchi Fried Rice) 韩式泡菜炒饭


Kimchi Bokkeumbap in its literal translation means fried rice in spicy picked cabbage 泡菜炒饭. This is one popular dish amongst native Koreans. 

Our family have expanded since early this year. We are now a 4 adults + 1 dog family. It is a totally different experience to stay with mom and dad. Not only there are more mouths to cook for now, my daily meal plans would also have to accommodate 4 varying taste buds - each craving for different types of food. 

My mom has been a traditional Chinese (Cantonese to be specific) housewife all her life. You can imagine the cultural shock I have to put her through whenever I cook non-Chinese dishes. It is not easy for them to accept foreign tastes at this age. Nevertheless, they are trying! Kimchi Bokkeumbap (Fried Rice) 韩式泡菜炒饭 is one really easy dish that satisfy both old folks and my husband.  

As for myself, I am certainly pleased with this well-loved, tangy Korean Kimchi Bokkeumbap (Fried Rice) 韩式泡菜炒饭! Seriously, it is just as satisfying without any meat...


Ingredients (enough for 4 pax) :
Download Printer Friendly Recipe

  • 300 gm kimchi (coarsely chopped)
  • 1 red capsicum (cut to bits)
  • 1 medium-to-large sized onion (finely chopped)
  • 4 bowls of cooked/steamed white rice 
  • 4 eggs (fry sunny-side-up, preferably with runny egg yolk)
  • 3 stalks of spring onions (chopped) 
  • 1 tsp toasted black sesame seeds
  • cooking oil

Seasonings :

  • 1 tbsp kimchi paste (gochujang can work as well)
  • 3 tbsp kimchi juice (scoop from bottom of kimchi container)
  • 1 tbsp light soy sauce (or adjust in accordance to your taste)
  • 1 tsp sesame oil


(tsp = teaspoon; tbsp = tablespoon)    


Tip : This is a simple basic version of Kimchi Bokkeumbap. You may add any meat(s) of your choice to suit your taste. Just marinate the meat(s) beforehand.


Method : 


Heat 3 tbsp cooking oil. Use medium heat.
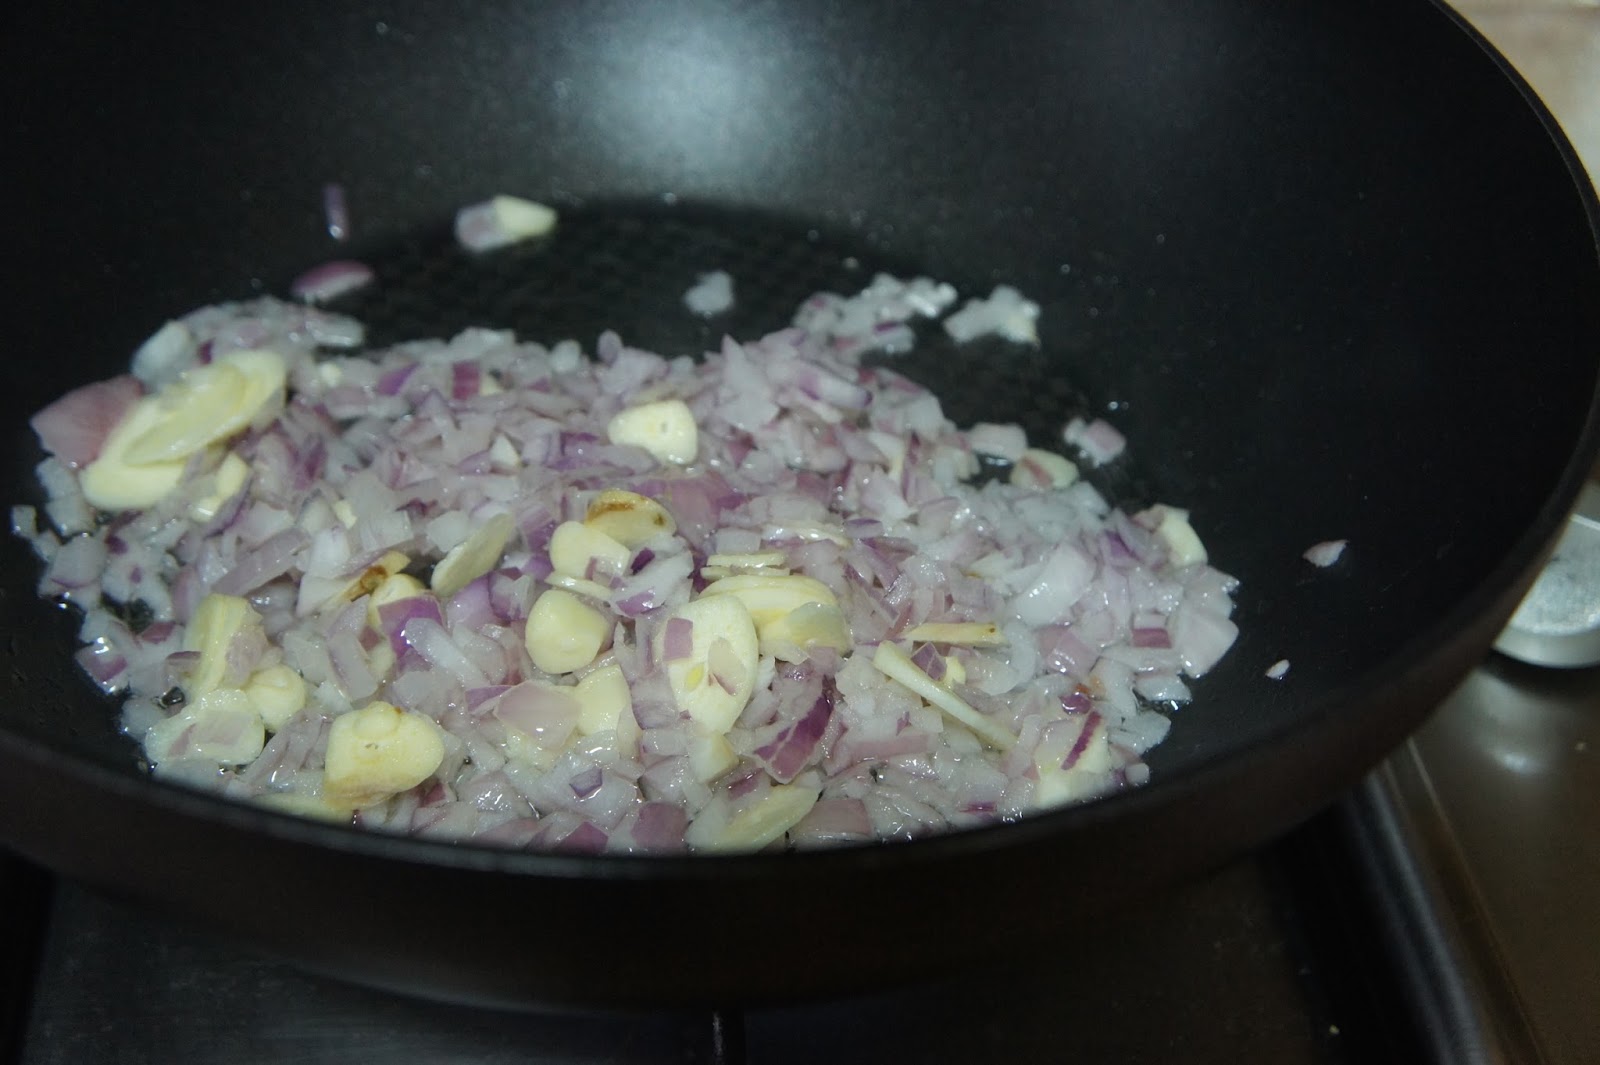
Add aromatics (chopped onions and garlic) and give it a quick stir.
Fold in chopped kimchi. 
Toss in chopped capsicums. 
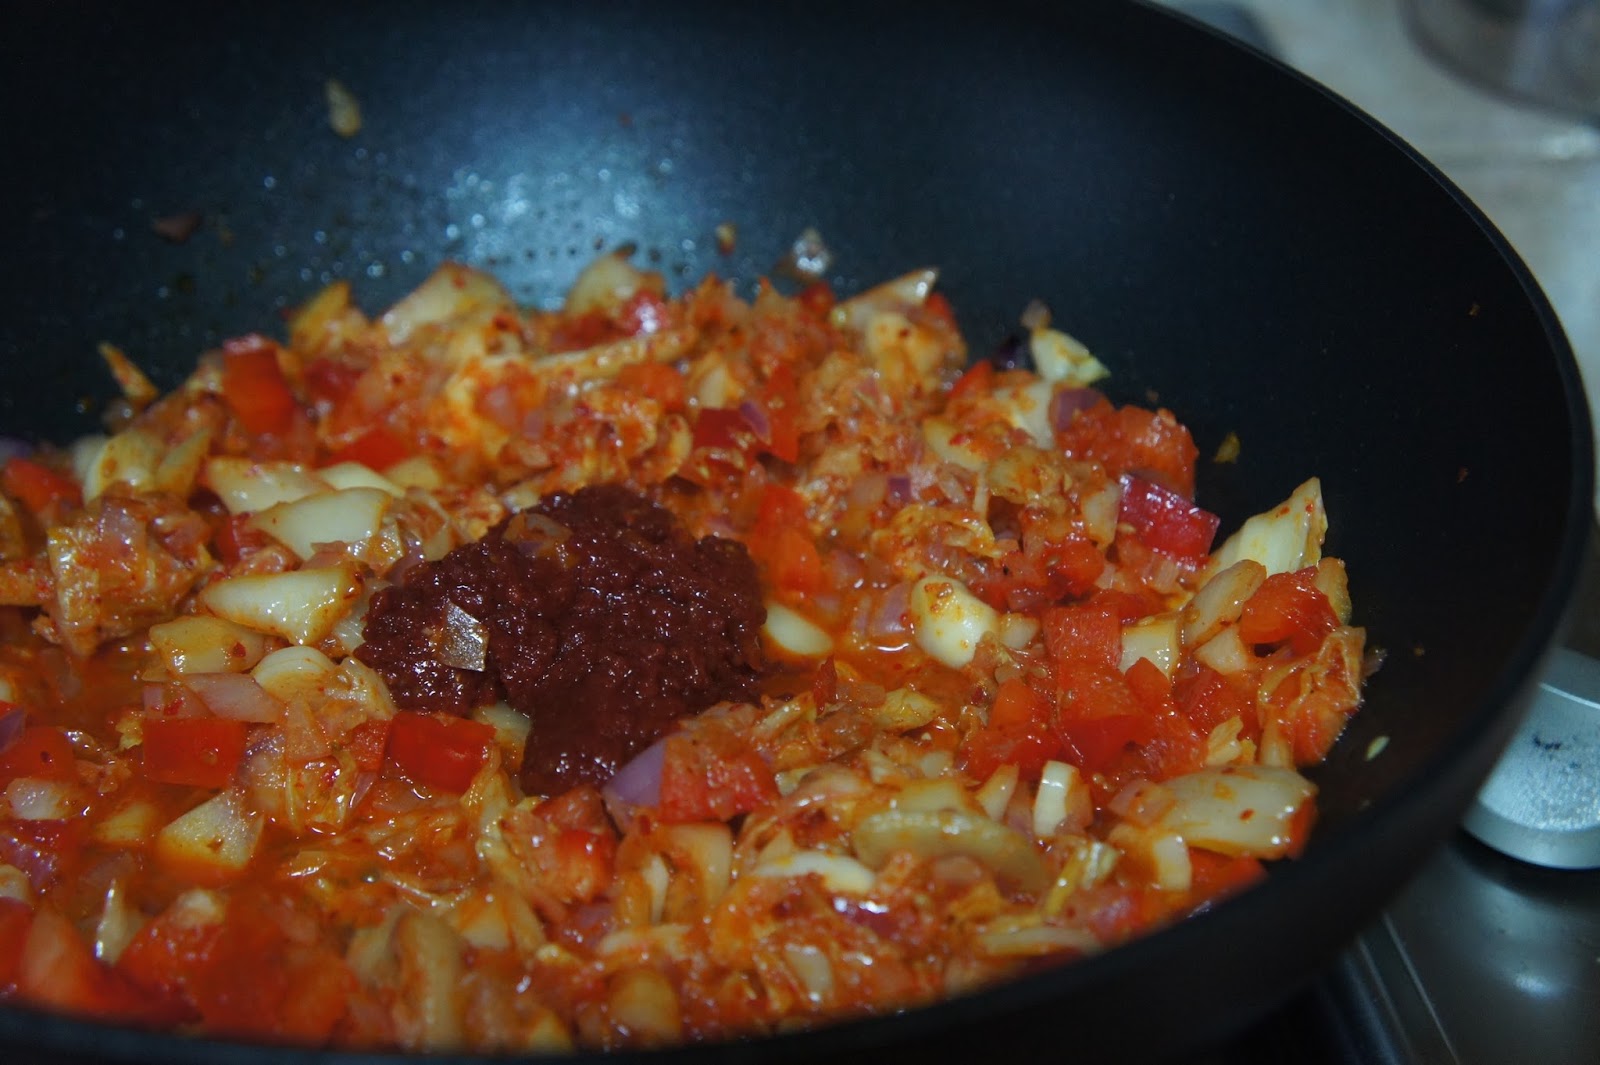
Add 1 tbsp kimchi paste or gochujang. Stir fry for about a minute till the ingredients start to emit aroma.
Fold in cooked white rice.
Turn to high heat. Add the rest of the seasonings (kimchi juice, light soy sauce and sesame oil) and stir fry till all grains are evenly coated with kimchi flavourings. 
Scoop fried rice to serving bowls when ready.
Top with chopped spring onions and black sesame for better texture and nicer colours.
Serve hot.

The traditional Kimchi Bokkeumbap (Fried Rice) 韩式泡菜炒饭 is usually top with a sunny-side-up fried egg. Try to keep the egg yolks runny! Otherwise, nothing should go wrong with this simple and hearty one-dish meal.


Thursday, 8 October 2015

Korean Ginseng Chicken Soup (Samgyetang) 韩式参鸡汤


I like anything herbal. My husband is quite my opposite. He abhors anything herbal. He would most likely turn his back on any herbal soups that are too rich, too flavourful. I used to scratch my head when brewing tonic soups for him as there's high probability that I end up finishing the soups myself. Therefore, I really felt like I hit the jackpot when he told me he liked the Korean Ginseng Chicken Soup (Samgyetang) 韩式参鸡汤 that I made this evening.

My literal translation of Korean Samgyetang : Sam=参=Ginseng. Gye=鸡=Chicken. Tang=汤=Soup. It is vastly different from Chinese Herbal Chicken Soup whereby the soup is overpowering by flavours from different herbs. Korean Ginseng Chicken Soup (Samgyetang) 韩式参鸡汤, on the other hand, is light and refreshing. With the use of Ginseng, a well-known booster for energy and immunity system, the soup does not compromise on its nutritional value even with no other herbs. Soup and flavour aside, the Korean version beats the  Chinese version hands down on the retainment of tenderness in chicken meat and ease of preparation with just few simple ingredients.

By the way, do use a whole chicken when making Korean Ginseng Chicken Soup (Samgyetang) 韩式参鸡汤....you would appreciate it when you get to try the stuffed rice cooked in the cavity of the chicken.


Ingredients (enough for 4 pax with steamed rice) :

Download Printer Friendly Recipe
  • 1 whole kampung chicken/free range chicken (cleaned and drained)
  • 1 fresh ginseng root (available from markets or traditional medicinal halls)
  • 6 cloves garlic (pressed)
  • 3 slices ginger (shredded) 
  • 4-5 large red dates/Jujube 
  • 1 stalk spring onions or cilantro/coriander
  • 4 tbsp glutinous rice (I replaced with Japanese rice grains as I have problems digesting glutinous rice due to gastritis)
  • 1.5 litre water


Seasonings : 

  • salt (to taste)
  • chicken stock powder (to taste)
  • white grounded pepper (to taste)


(tsp = teaspoon; tbsp = tablespoon)    


Method :


Stuff 3 to 4 tbsp rice into cavity of chicken. Do not stuff to the brim as rice would expand during the cooking process. Leave some space in the cavity.
For rice to have better flavours, insert 2 cloves of garlic and 1 red date as well.
Use bamboo skewers to seal the cavity. This would contain rice in the cavity during boil.
Lay whole chicken in a soup pot together with all other ingredients.
Add 1.5 litre water. Bring to boil at high heat. Once water boils, turn to medium heat and simmer for 50 to 60 minutes (subject to size of chicken). 
Add seasonings to taste. Transfer soup and chicken to serving pot/bowl. Remove skewers from chicken and top with cilantro/coriander garnishing when serve.
Serve hot. The rice in the cavity would be fully infused with flavours and aromas from the chicken and ginseng.....giving us a delightful experience. 
The chicken meat remains tender and tasty if we control the timings and heat well.


Korean Ginseng Chicken Soup (Samgyetang) 韩式参鸡汤 - a tonic soup that is refreshing yet satisfying. 


Wednesday, 16 September 2015

Easy Korean Spicy Chicken Stew (Dakdoritang)


It was raining the entire afternoon and I was stranded at home. It meant no replenishing of food and grocery items. Having gone through my inventory in the refrigerator, I thought it would be timely to make another pot of comfort food for dinner.

Dakdoritang or Korean Spicy Chicken Stew is somewhat like our curry chicken. Just less spicy, and in my opinion, easier to prepare. Without the coconut milk and excessive flavorings, I also find it less heavy for the stomach. 

Definitely mouthwatering as my whole house was filled with aroma from Kimchiland....


Ingredients (enough for 2 pax) :
Download Printer Friendly Recipe
  • 1/2 chicken (chopped into pieces)
  • 2 potatoes (cut potatoes into halves or quarters)
  • 2 carrots (chopped into chunks)
  • 1 large yellow onion (chopped into chunks)
  • 6 cloves of garlic (pressed)
  • 4 slices ginger
  • 2 stalks of spring onions (chopped) 
  • water to boil

Seasonings :
  • 2 tbsp sugar
  • 2 tbsp rice wine
  • 2 tbsp light soy sauce
  • 1/2 tsp grounded black pepper
  • 2 tbsp sesame oil
  • 2 tbsp red chilli flakes (get the Korean gochugaru if possible)
  • 2 tbsp Korean red pepper paste/gochujang
  • 1-2 cup water (subject to your pot size, use a little more water if pot size is large)
  • cooking oil

(tsp = teaspoon; tbsp = tablespoon)    


Tip : Do not cover with lid during last 5-10 minutes of cooking so that the sauce can be cooked down.


Method : 

This is not a norm for preparing this dish but I prefer to blanch the chicken for 3-5 minutes to remove excess fat and scum first. Rinse chicken in running water to clean after blanch and set aside. Alternatively, you may choose to pan fry the chicken pieces first.
Add 2 tbsp sugar, 2 tbsp rice wine, 2 tbsp light soy sauce, 1/2 tsp grounded black pepper, 2 tbsp red chili flakes (gochugaru), 2 tbsp Korean red chili pepper paste (gochujang) in a bowl and mix thoroughly.
Heat cooking oil in pot and add aromatic ingredients : ginger, onions and garlic. Lightly saute.
Add mixed seasonings into pot and give it a light stir. 
Pour 1-2 cups of water (depending on pot size, add more water if pot size is large). Let it simmer for 2 minutes at high heat.
Fold in chicken pieces. Turn to medium-high heat, cover lid and simmer for 15 minutes.
Toss in potatoes and carrots after 15 minutes. Cover with lid and further simmer for another 15 minutes at low-medium heat. Give it a stir every now and then. Remove lid after 15 minutes and allow cooking for another 10 minutes. By removing the lid to cook, it would allow the sauce to be cooked down faster. Stir to check that all ingredients are thoroughly cooked and add sesame oil and spring onions before transferring to serving bowl.
Serve while hot with steamed rice.